Note organization
Note templates
Templates are ready-made notes for common tasks — a daily report, a bug-fix write-up, a feature plan, and more. Start a note from a template to skip the blank page and keep your notes consistent.
Inkdrop ships with a set of built-in templates, and you can add your own.
The Templates section on the sidebar
You'll find Templates in the sidebar, just below All Notes. Click it to browse every template available to you.
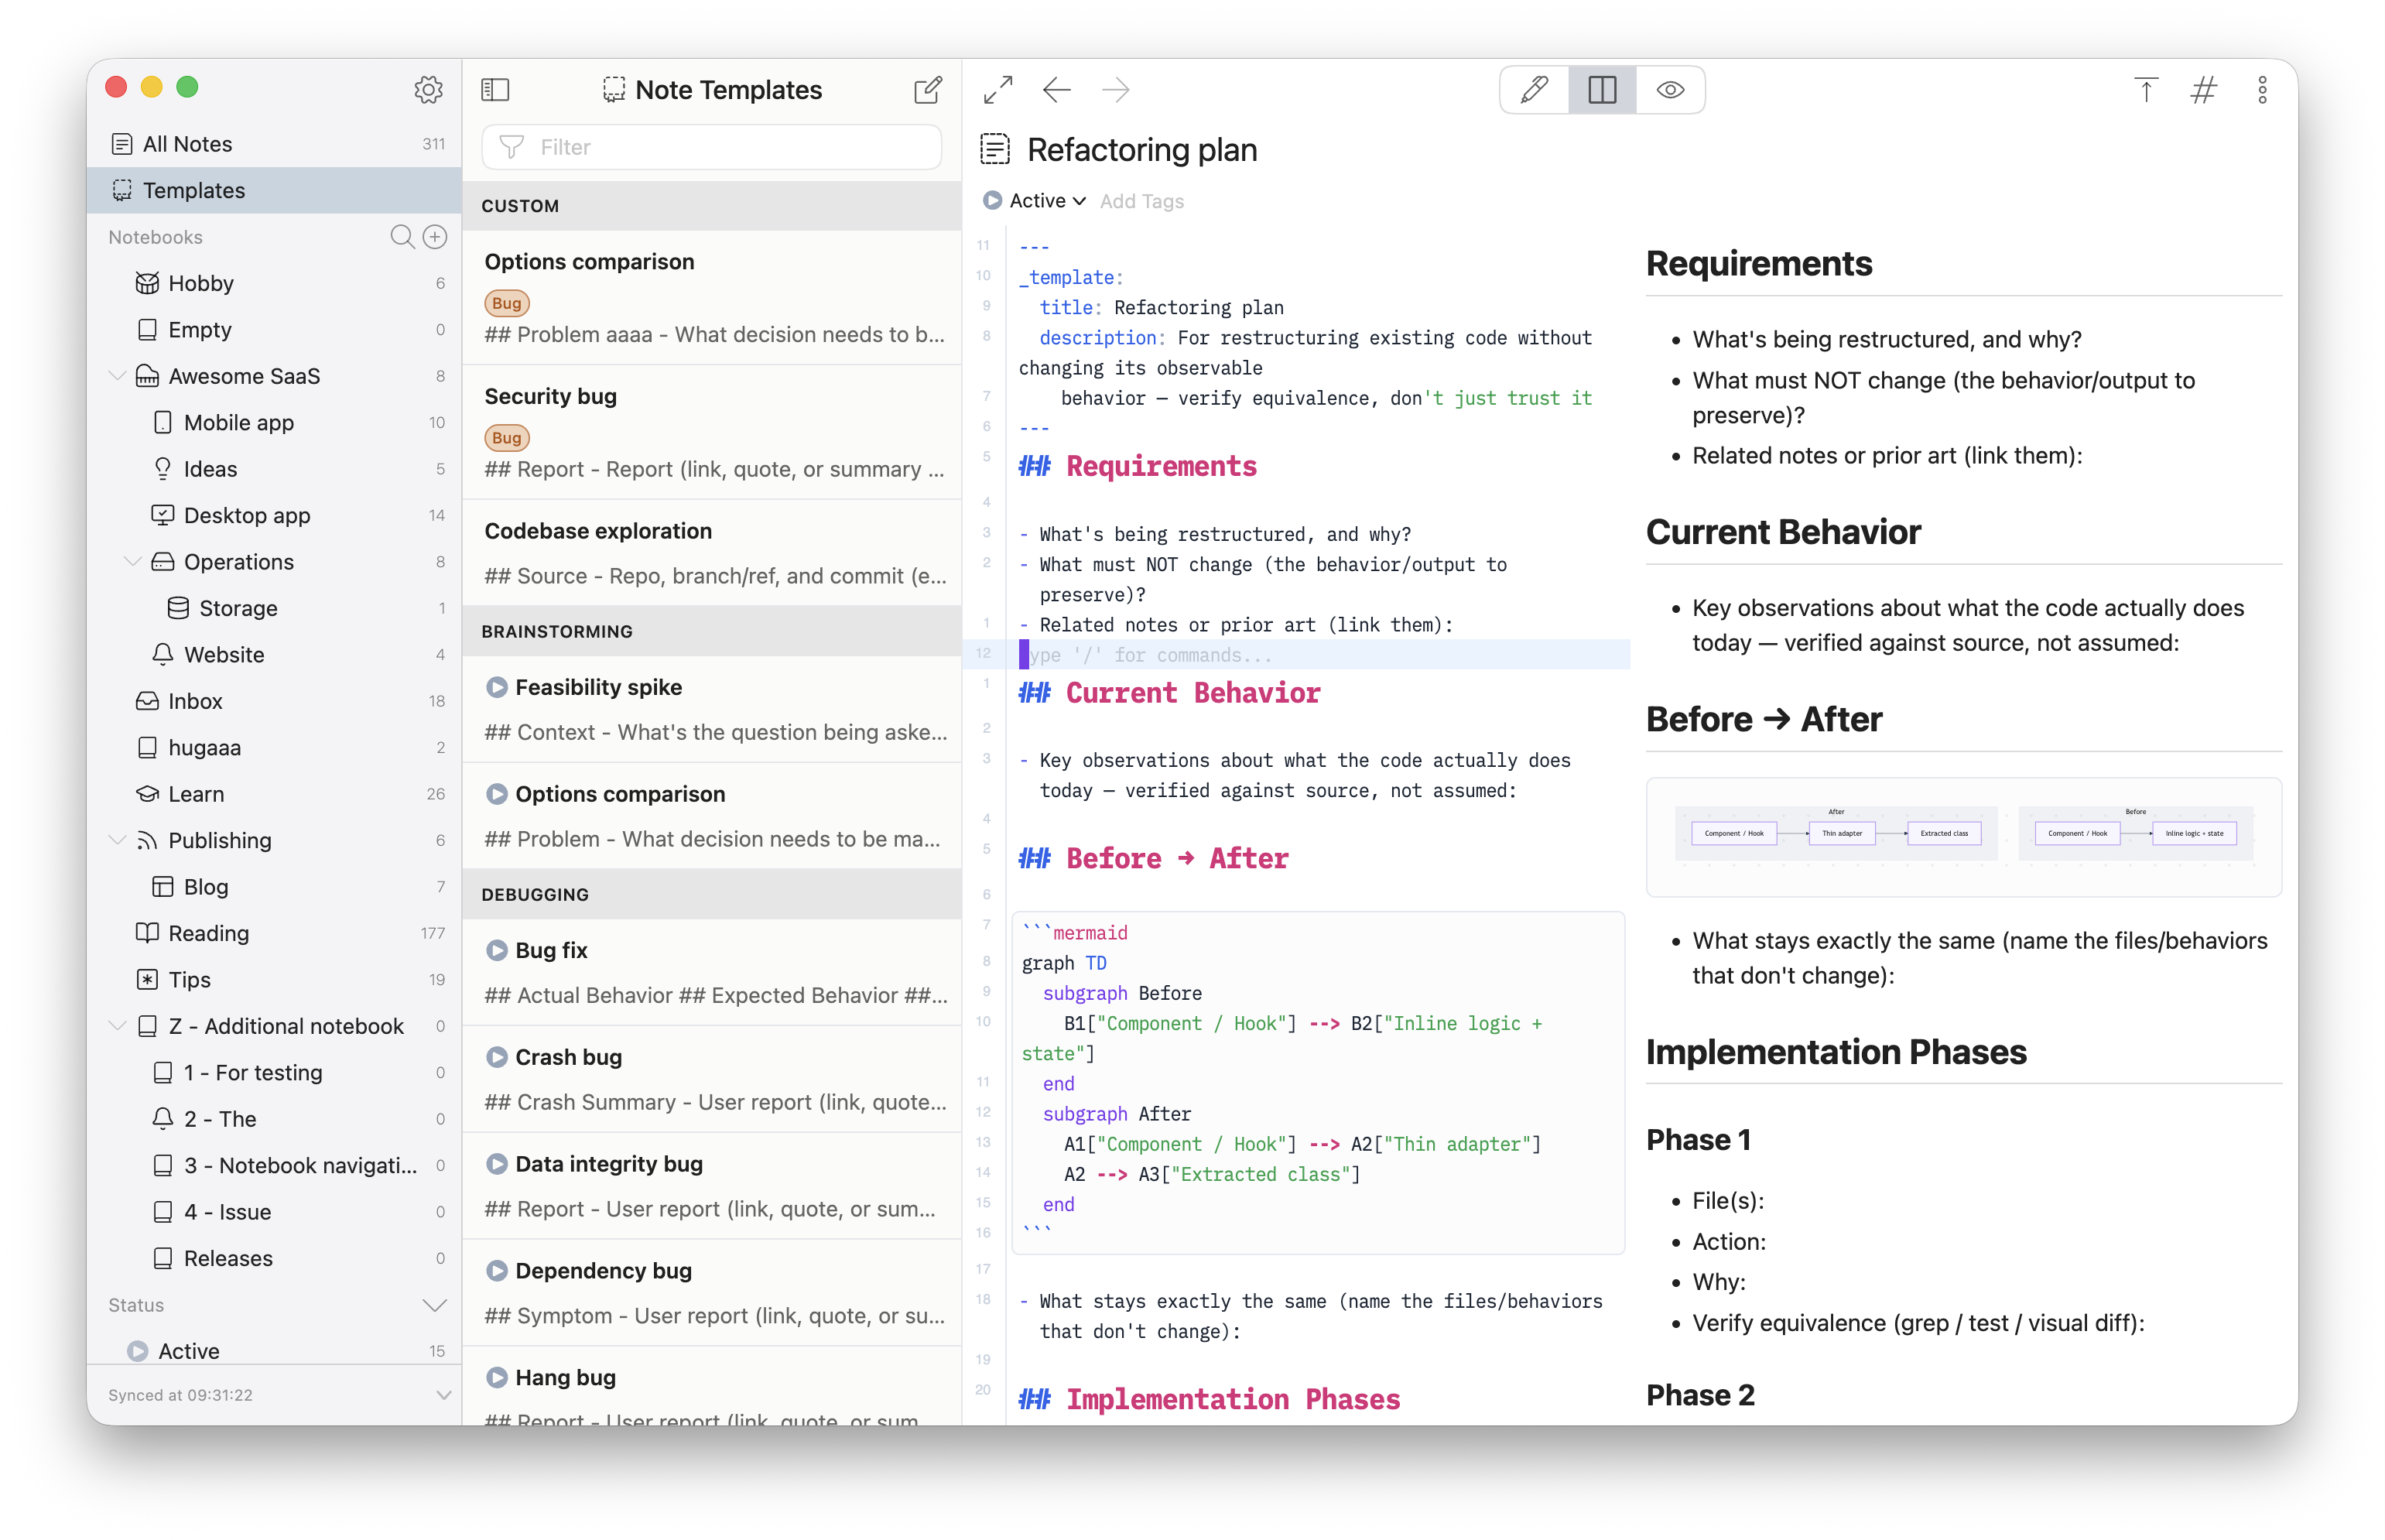
The list shows your own templates first, under a Custom section (which appears once you have at least one), followed by the built-in templates grouped by category.
Selecting a template here opens it for viewing or editing — it does not create a note. To create a note from a template, use the Create a new note picker described below.
Create a note from a template
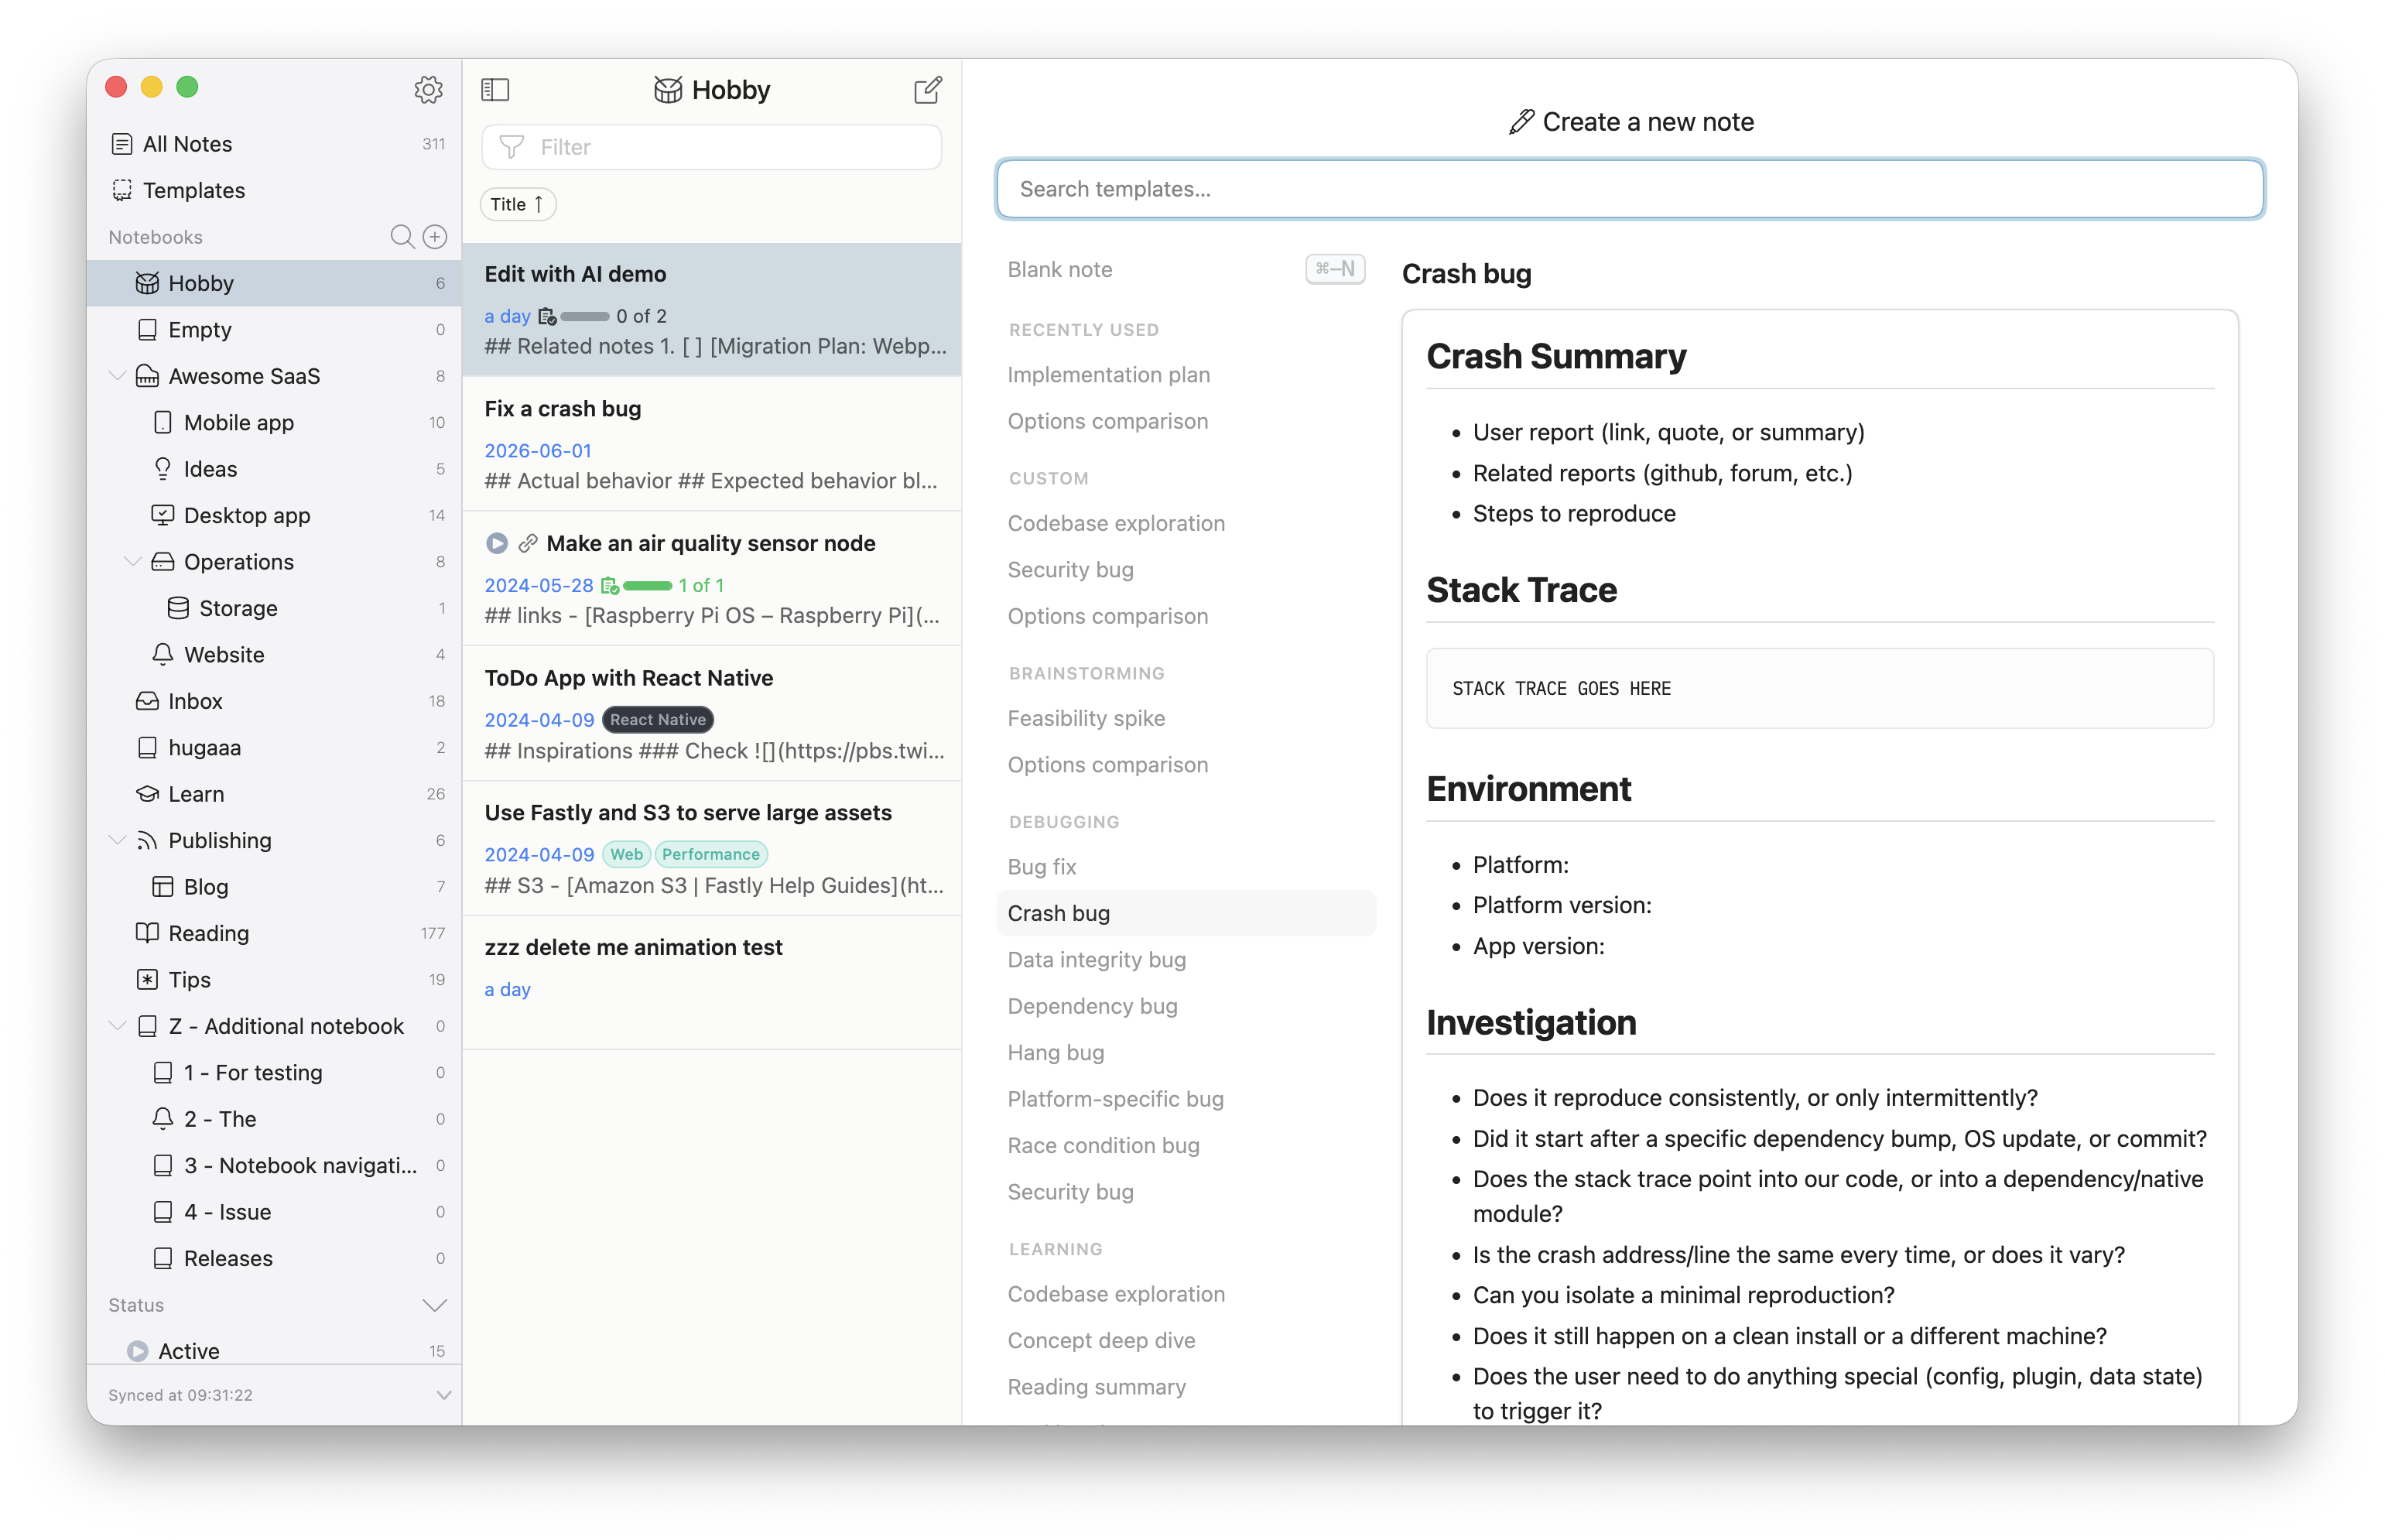
- Create a note — click in the upper-right corner of the note list, or press Command+N / Ctrl+N. Inkdrop opens a new, empty, untitled note.
- With the note still empty, press Command+T / Ctrl+T — or click Choose a template in the editor's placeholder text — to open the Choose a template picker.
- Type in the search field to filter the list, or use the Up / Down arrow keys to browse. The pane on the right previews the selected template.
- Press Enter, or click a template, to apply it.
The template's content fills in the note in place. Any tags or status you'd already set on the note are kept — the template only adds to them, it never clears what's there.
Tip
Choose a template is only offered while the note is still empty — once you start typing, use the Templates section on the sidebar instead to copy content in manually.
Built-in templates
Inkdrop comes with templates for a range of everyday tech tasks, grouped by category:
| Category | Examples |
|---|---|
| Brainstorming | Feasibility spike, Options comparison |
| Debugging | Bug fix, Crash bug, Race condition bug, Security bug, and more |
| Learning | Codebase exploration, Concept deep dive, Reading summary, Tool hands-on |
| Planning | Feature planning, Implementation plan, Refactoring plan, Release plan, Architectural changes |
| Productivity | Daily Report |
You can't overwrite a built-in template, but you can build on one — edit it directly, and Inkdrop saves your changes as a new custom template (see below).
Create a custom template
A custom template is simply a note that lives in the built-in Templates notebook. Any note you put there becomes available in the Create a new note picker and the Templates section on the sidebar.
To create one from scratch:
- Click Templates in the sidebar.
- Press Command+N / Ctrl+N, or click .
Because you're in the Templates section, Inkdrop creates a new template note directly — the picker is skipped. - Give it a title and write the content you want to reuse. It's saved as a template automatically.
Your custom templates show up under the Custom section in both the sidebar's Templates list and the Create a new note picker.
Customize a built-in template
To base your own template on one of the built-in ones, edit it directly — there's no need to copy it first:
- Open the Templates section on the sidebar and select the built-in template you want to start from.
- Edit its content.
When you save, Inkdrop keeps the original built-in template intact and saves your changes as a new template under Custom.
Set tags and status
A template works like any other note: the tags and status you set on it in the editor — using the fields under the note's title — carry over to every note you create from it.
Alternatively, you can also declare them in the template's frontmatter (see below).
Configure a template with frontmatter
The name shown for a template comes from the title of the template note itself. For everything else — a description, a custom or dynamic title for the notes it creates, or the notebook they're filed into — add a _template block to the note's YAML frontmatter, the section between the --- lines at the top of the note. Every field is optional.
---
_template:
  title: "{{ 'now' | date: '%Y-%m-%d' }} - Daily Report"
  description: What I did today, what I plan for tomorrow, and any blockers.
  tags:
    - report
  notebook: Journal
  status: active
---

## What I worked on

1.

## Blockers

1.
| Field | What it does |
|---|---|
title | The title given to notes created from the template. Supports dynamic values (see below). |
description | A short note about when to use the template. |
tags | Tags applied to the new note, as an alternative to setting them in the editor. Accepts tag names or tag IDs (such as tag:wMfp1xah); a name that doesn't exist yet is created automatically. |
notebook | The notebook new notes are filed into. Accepts a notebook name or a notebook ID (such as book:SnbaRB4w). |
status | The new note's initial status — none, active, onHold, completed, or dropped — as an alternative to setting it in the editor. |
Insert the current date and other dynamic values
Both the title and the body of a template can include placeholders that are filled in the moment a note is created:
- Current date —
{{ 'now' | date: '%Y-%m-%d' }}inserts today's date (for example,2026-07-16). Adjust the format string to change it —%H:%Mfor the time,%Afor the weekday, and so on. - Random ID —
{% uuid %}inserts a random UUID.
Leaving instructions out of the generated note
While authoring a template, you can add a blockquote whose heading starts with ! — such as > # !Instructions or > # !Example — to leave guidance for yourself or an AI agent. It's especially useful for telling an AI agent how to fill the template out properly: the agent can read these instructions from the source template, while they're stripped out automatically so they never appear in the notes you create from it.
See also
Get help